Interactive Jupyter Lab/NoteBook
|
Before start filling the form, it’s highly recommended to read the documentation available at the following link → Anaconda Virtual Environments or Pixi since the Jupyter Lab/Notebook is launched using the anaconda virtual environments or Pixi. |
Opening Jupyter Form
-
The first step is to select the
Interactive appsand then click theJupyter Lab/NoteBookServer in the Open OnDemand dashboard. -
Then you will see a form which needs to be filled to launch the Jupyter Lab/NoteBook on compute nodes.
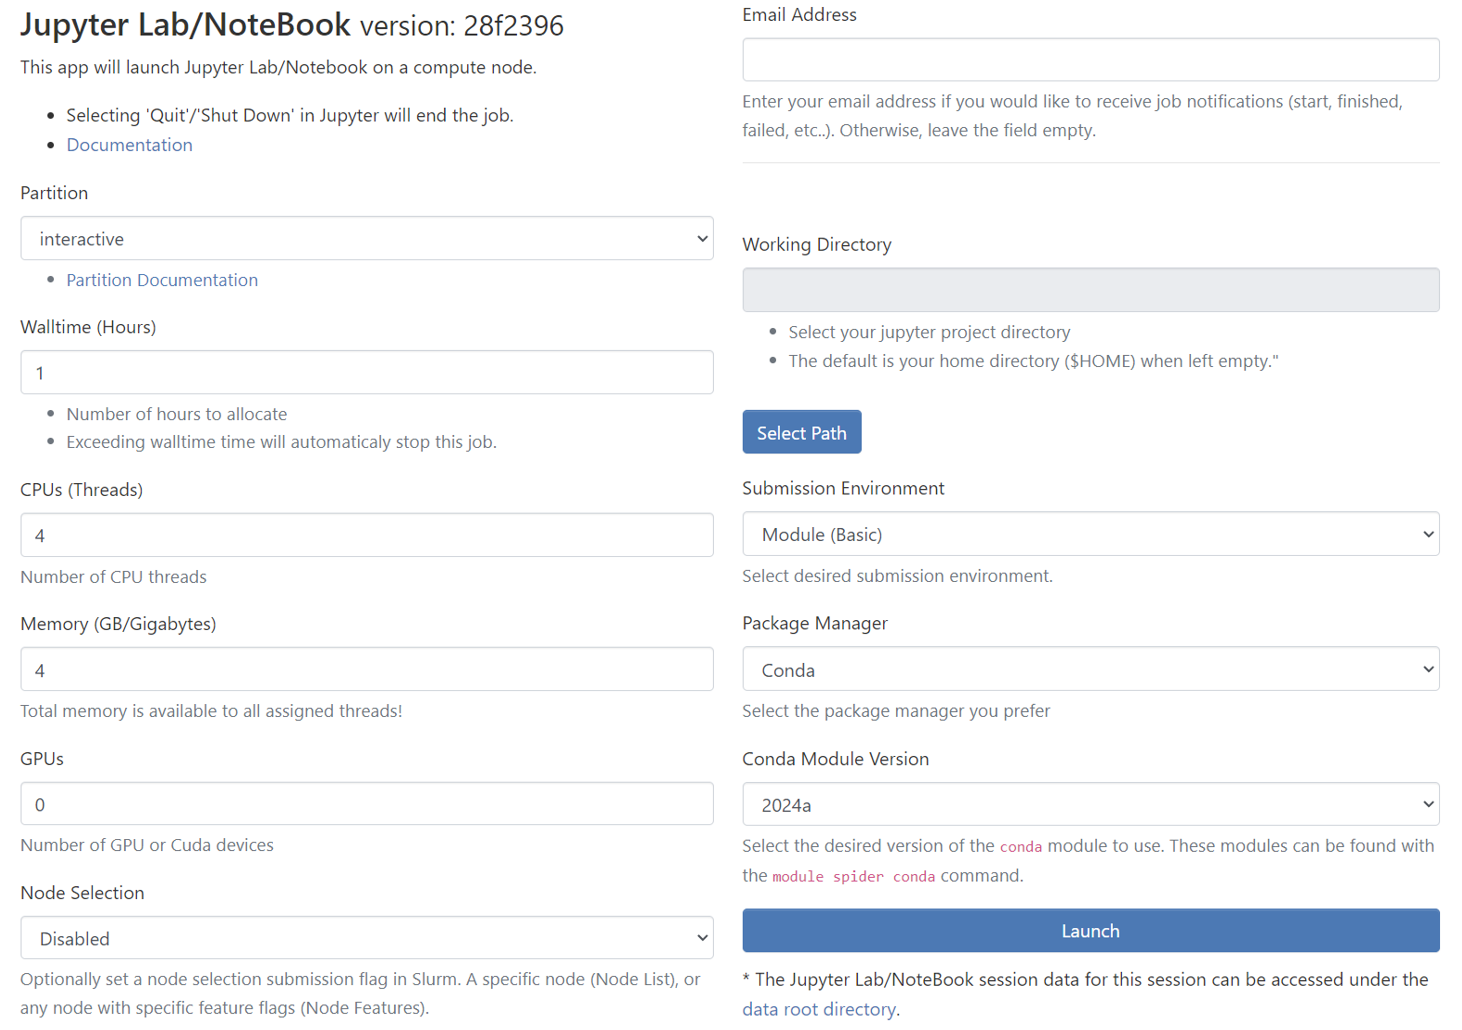
Partition
-
Partitions are work queues that has computational nodes in it to run the jobs. The partitions available in Discovery are
cblab,cfdlab,iiplab,interactive, andnormal. -
However, you will see only the list of authorized partitions available for your Discovery account and hence, you won’t see the partitions which you don’t have authorization in the select dropdown.
-
Select one of the partitions where you want to submit your job. Refer to the page → Partitions in Discovery to select the ideal partition for your job.
-
By Default, partition is set to
interactive. -
Backfill partition is also enabled to launch MATLAB GUI through the interactive session. However, jobs on Backfill are subject to being stopped and requeued. Hence, you need to fill the last form field with the MATLAB command if you want to launch MATLAB in Backfill.
|
For NMSU OnDemand interactive apps, Backfill partition is only available in MATLAB (Xfce). |
Walltime(Hours)
-
Sets the Walltime for your job. The job gets killed if the Walltime you set gets elapsed.
Partition Max Hours backfill
336
cblab
168
cfdlab
168
iiplab
168
interactive
24
normal
168
CPUs(Threads)
-
Sets the Number of CPUs(Threads) for the job. The below table shows the maximum limit for CPU threads for each partition. The default and minimum value is 1 CPU thread.
Partition Max Limit backfill
60
cblab
60
cfdlab
52
iiplab
52
interactive
16
normal
124
Memory (GB/Gigabytes)
-
Sets the memory for the job in terms of GB. The memory you select is available to all assigned threads for the job. The below table shows the maximum memory limit for each partition which can be requested for the job. The default and minimum value is 1 GB.
| Partition | Max Memory Limit(GB) |
|---|---|
backfill |
490 |
cblab |
364 |
cfdlab |
175 |
iiplab |
175 |
interactive |
64 |
normal |
3000 |
GPUs
-
To enable the GPU selection, you need to choose one of the following partitions:
cfdlab,iiplab,interactive,normal. Only these partitions have GPUs and if you select any of the partitions, you can see theGPUsdropdown enabled.Parameter #GPU Min Limit
0
Max Limit
2
Node Selection
This is an optional node selection feature for submissions to Slurm. It allows users to specify a particular node or any node with specific feature flags.
Selection Options
There are four available options for node selection:
-
Disabled: This is the default setting. When "Disabled" is selected, the application will not send any specific node preferences to Slurm during job submission.
-
Node List: With this option, users can specify a particular node (one single node) where the job should run.
-
Node Features (--constraint): Users can select this option if they want to run their job on any node that meets a specific feature.
-
Node Features (--prefer): This option is similar to the "--constraint" option, but it only indicates a preference. If it’s not available, it might be scheduled elsewhere.
Email Address
-
If you want to get notified via email when the job starts/fails/ends, enter the email address associated with the Discovery account.
-
You can leave the text field
blankif you don’t want job notifications.
Jupyter Working Directory
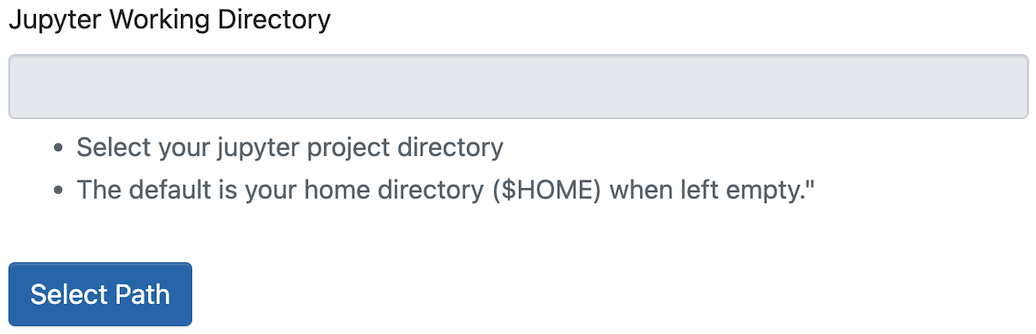
If left empty, the working directory points to your /home directory by default. To switch to scratch/project directories, click the Select Path button.
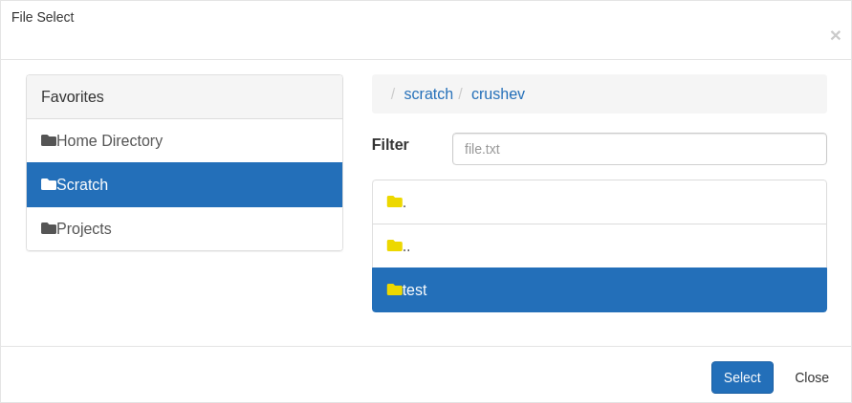
Select the desired directory you want to work with. After you make the selection, the Working Directory for the interactive job gets updated.
Submission Environment
You can select your desired submission environment from the drop down list. For example, to use an Apptainer image, select the Container option.

This option allows you to launch the interactive application with the default software modules.
If you want to load additional modules or run any setup commands before launching the application, select the Advanced Modules option.
To load additional modules, use the module load command to load into your working environment.
module load <software-name>
For more information about module load command , refer to the page → Module Load in Discovery.
You can also source a bash script which will read and execute commands from the file specified as its argument. Create a bash script called setup-env.sh
#!/usr/bin/env bash

module load anaconda
conda activate <env-name>
To run the bash script file setup-env.sh using the source command, run the following command,
source setup-env.shOutput
(<env-name>) [<username>@discovery-l2 sample-scripts]$From the above output, you can infer that, it first executed the module load anaconda command by loading the anaconda module to your environment and then activated the custom environment in it.
After you have the bash script ready with the commands, enter the source command followed by path to script file in the text entry box.
Syntax
source <path to bash script file>
Example
source "$HOME/project_a/setup-env.sh"Instead of you using Envirumental Modules, you can use an Apptainer/Singularity Container. You just need to select the appropriate SIF image.
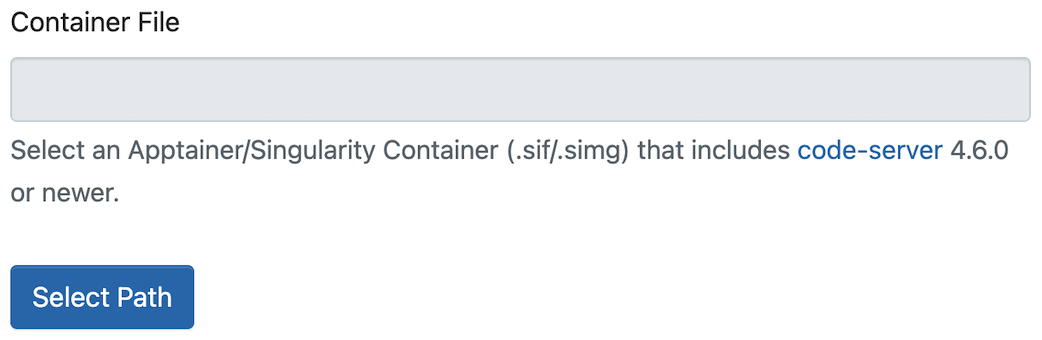
This option allows you to launch the interactive application with an Apptainer/Singularity Container.
Also, you can load additional modules or run any setup commands before launching the application. Check the Advanced Modules option for more details about this.
Package Manager
-
Conda and Pixi package managers are available.
| Conda | Pixi | |
|---|---|---|
Speed |
Slower, requires creating and activating environments |
Fast startup, no environment switching |
Configuration Complexity |
More complex, requires manual dependency management |
Simple configuration, dependencies managed automatically |
Conda
For more details, please check our Conda documentation.
Pixi
When installing environments on old versions of Linux. You may encounter the following error:
× The current system has a mismatching virtual package. The project requires '__linux' to be at least version '5.10' but the system has version '4.18.0'To fix this, edit your pixi.toml file and add the following to lower their system requirements for the project:
[system-requirements]
linux = "4.18"
For more details, please check our Pixi documentation.
|
Pixi will prioritize the |
User Interface
-
Jupyter Lab and Jupyter Notebook interfaces are available and select one for the interactive job.
Launching the Interactive Session
-
Once all the form fields are set, click the
Launchbutton. The interactive session will be launched and the below output is shown.
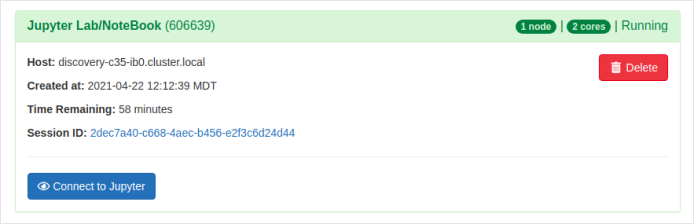
-
The above output shows that the interactive Jupyter session has been launched successfully. You will see the Connect to Jupyter button only if the resources you have requested becomes available. Else, you might need to wait for some more minutes for the resources allocation and then the Connect to Jupyter button appears.
-
Click the Connect to Jupyter button after it appears.
|
The interactive session won’t be launched if you try to submit your job to the partition that you don’t have access to. You will get the following error message → Batch job submission failed: User’s group not permitted to use this partition. Also, the page gets reloaded and you need to select the value for the form fields again since the form gets reset. |
Opening Jupyter Lab/NoteBook
-
On clicking the Connect to Jupyter button, the Jupyter Lab opens in a new tab.
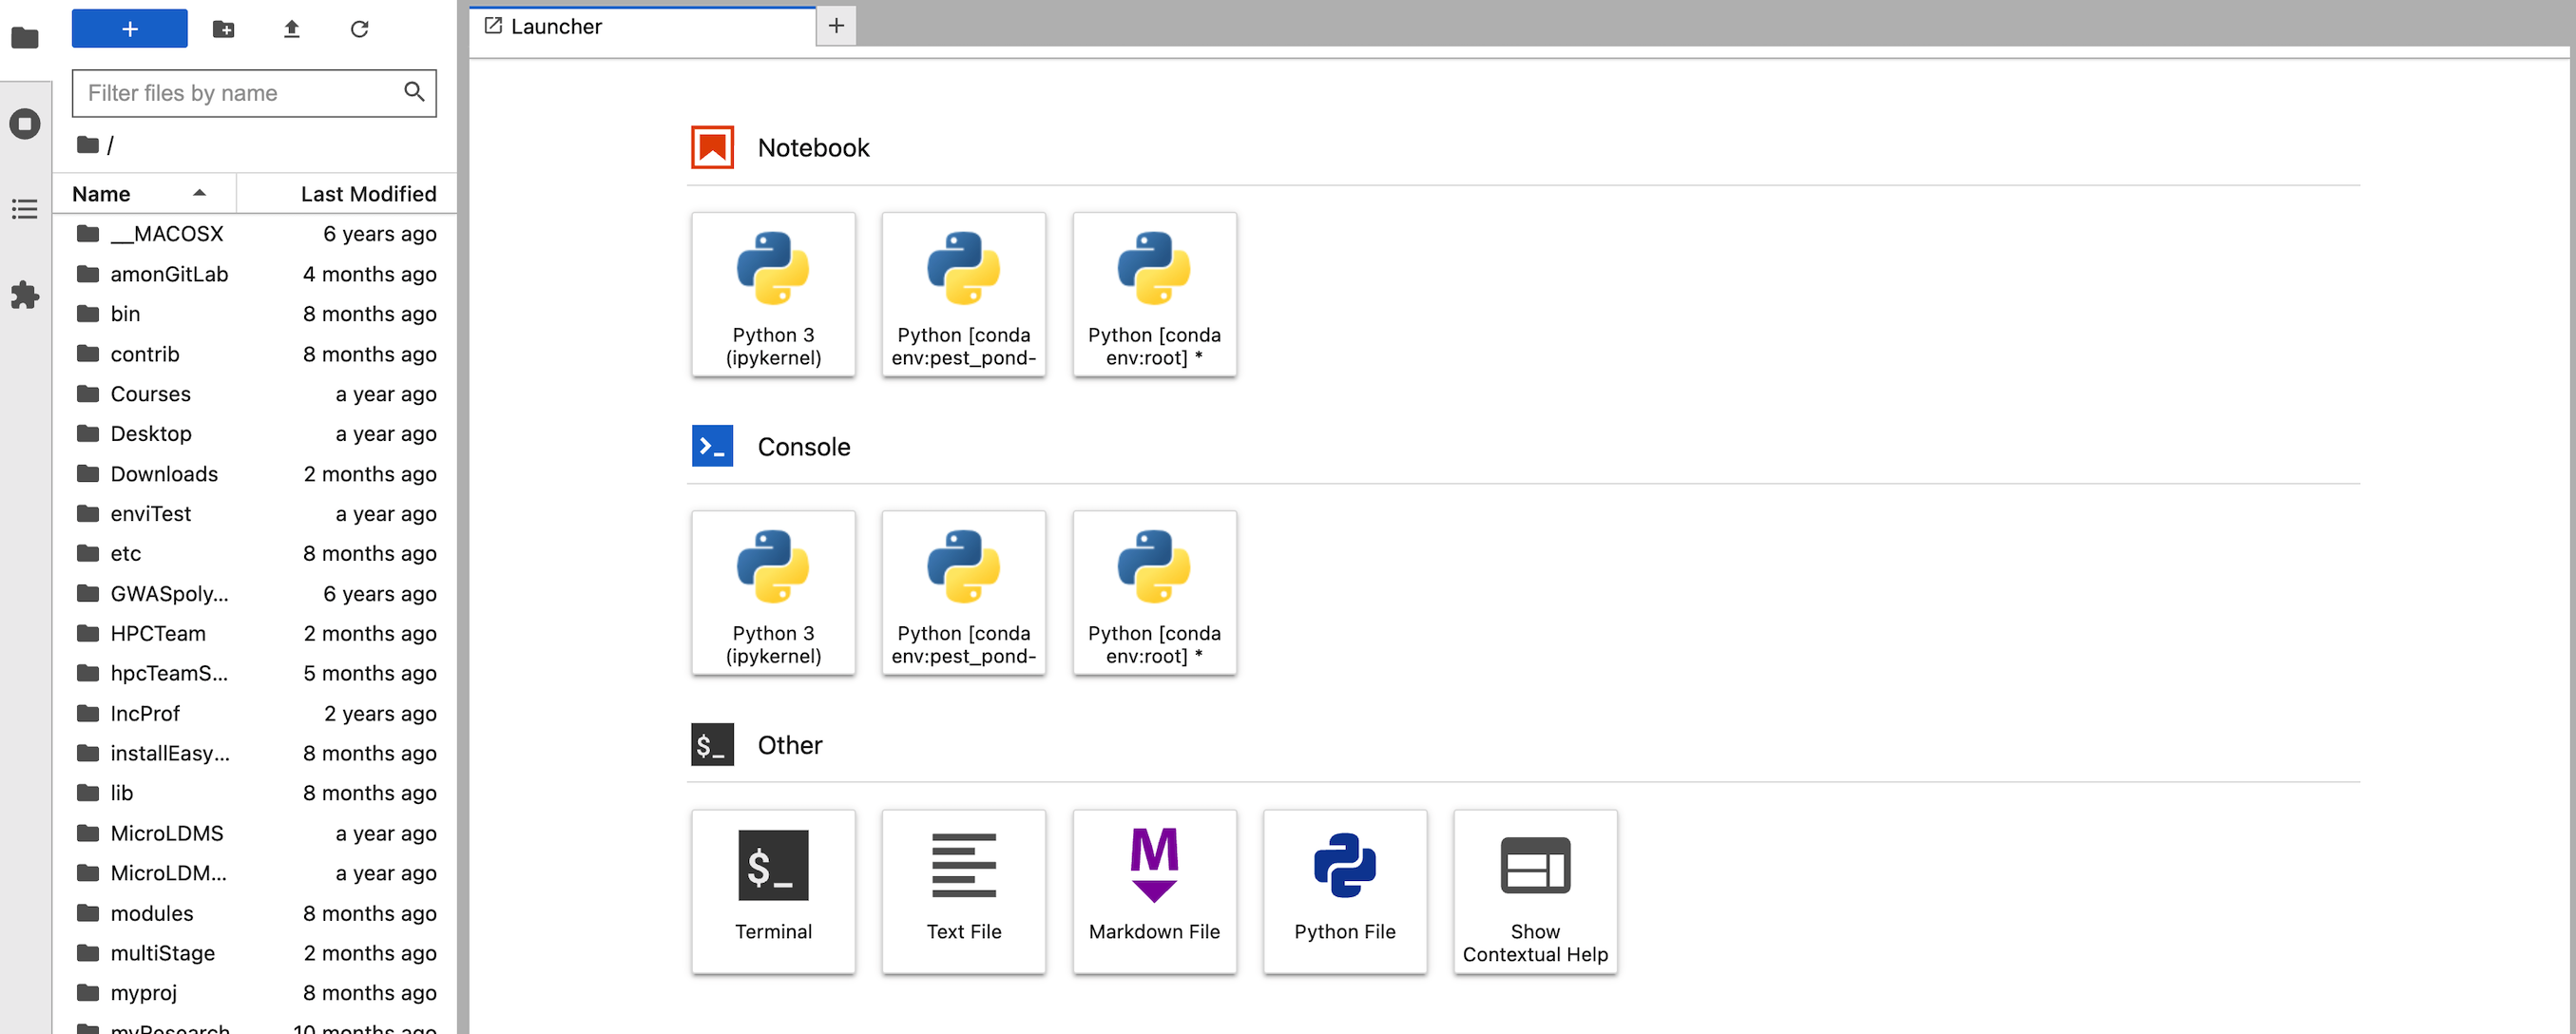
-
The above output shows that the Jupyter Lab has been successfully connected.
-
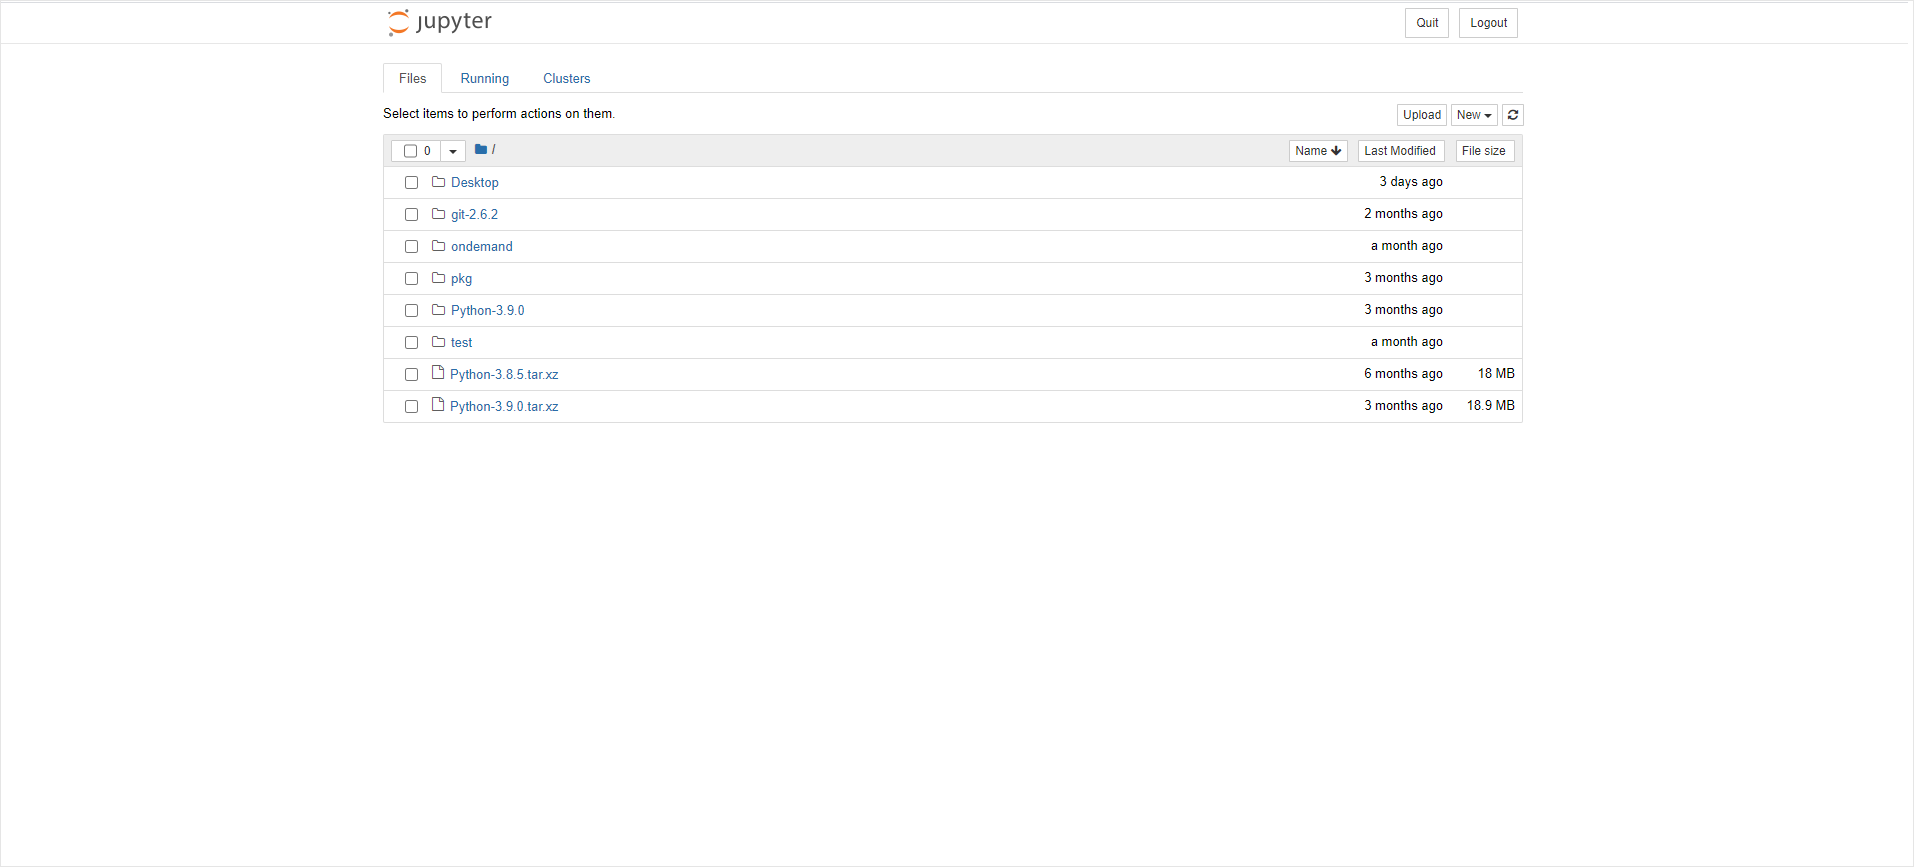
On clicking the Connect to Jupyter button, the Jupyter Notebook opens in a new tab like below.
|
If you have logged out of Jupyter Lab/NoteBook and wants to log in again, click the Connect to Jupyter button to open the Jupyter Lab/NoteBook in a new tab again. |
Killing the Interactive Session
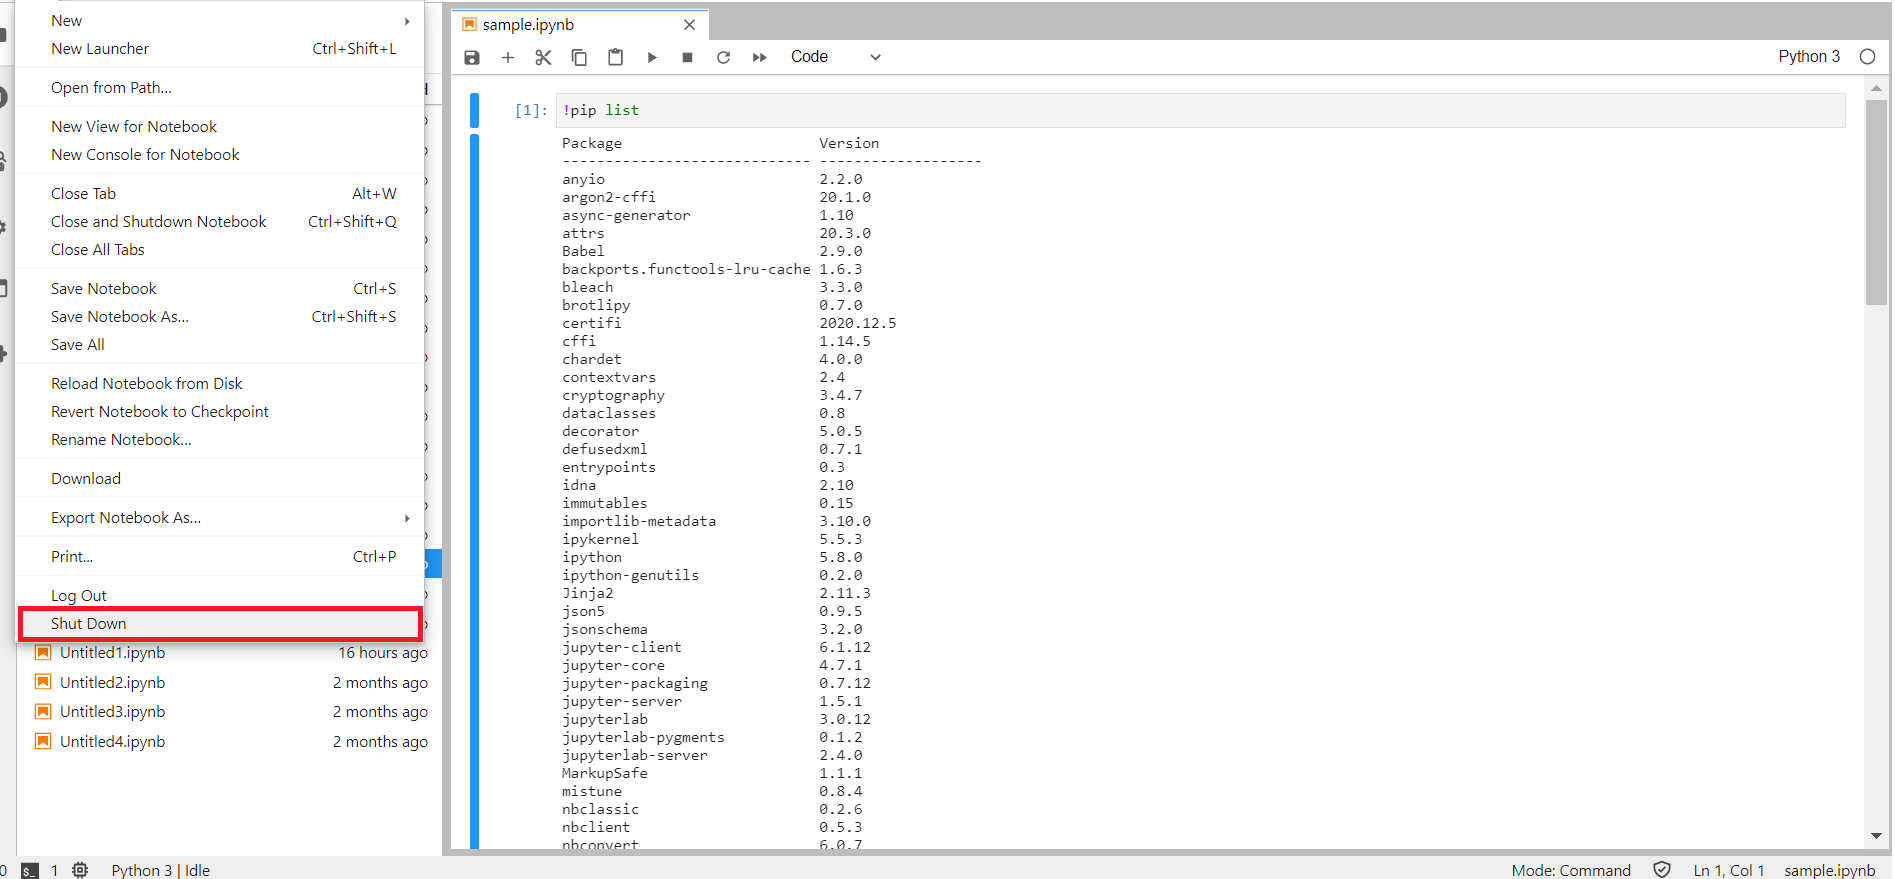
To kill the interactive session, select File → Shut Down. This will shut down the Jupyter lab and kills the interactive session running on the compute nodes.

-
To kill the interactive session, you can simply press the
quitbutton of the Jupyter Notebook. This will close the session and the cluster resources get freed. -
Try refreshing the page and you will see the message
Failed to connect to discovery. If you see this message, it means that you have deleted the interactive session successfully, If you don’t see the failure message on page refresh, press thequitbutton again and it will do the trick this time.
Alternate Way
-
Another way to kill the session is to go to the
My Interactive sessionstab and select theDeletebutton of the current interactive session.
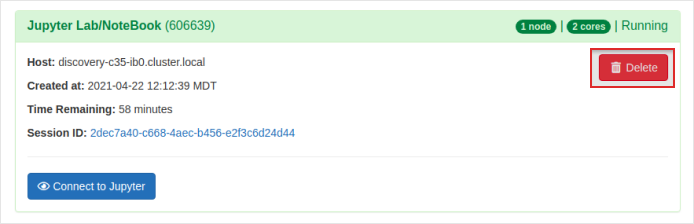
-
A confirmation pop-up will appear and press
Confirmto delete the session.
|
Whenever you are done with the work, it’s always recommended to kill/delete the interactive session running on the compute nodes and free the resources. |
Switching Between Different Virtual Environments from Jupyter Lab/Notebook
-
Anaconda Virtual Environments are used to launch interactive application such as Jupyter Lab/Notebook in Open OnDemand web interface.
-
One important thing to note is the usage of the package ipykernel. The package provides the python kernel for Jupyter. With the help of the ipykernel package, you can access other python virtual environments in your Jupyter Lab/Notebook, provided the ipykernel package is installed.
-
By Default, the base enviornment includes ipykernel package.
-
Let’s look at the below example on how this ipykernel package is very beneficial in Jupyter Lab/Notebook when launched using Anaconda Environment.
Example
-
First, create a
test_pythonPython environment with ipykernel installed using the below command.[username@discovery-l2 ~]$ module load anaconda [username@discovery-l2 ~]$ conda create -n test_python python=3.6 ipykernel -
Next, launch an interactive Jupyter Lab from Open OnDemand. Fill the form field and launch it without any advanced settings selection.
-
By Default, Jupyter Lab will be loaded from the base environment with Anaconda3 as the version if you don’t opt for any advanced settings selection and you will get a similar output like below.
Output
-
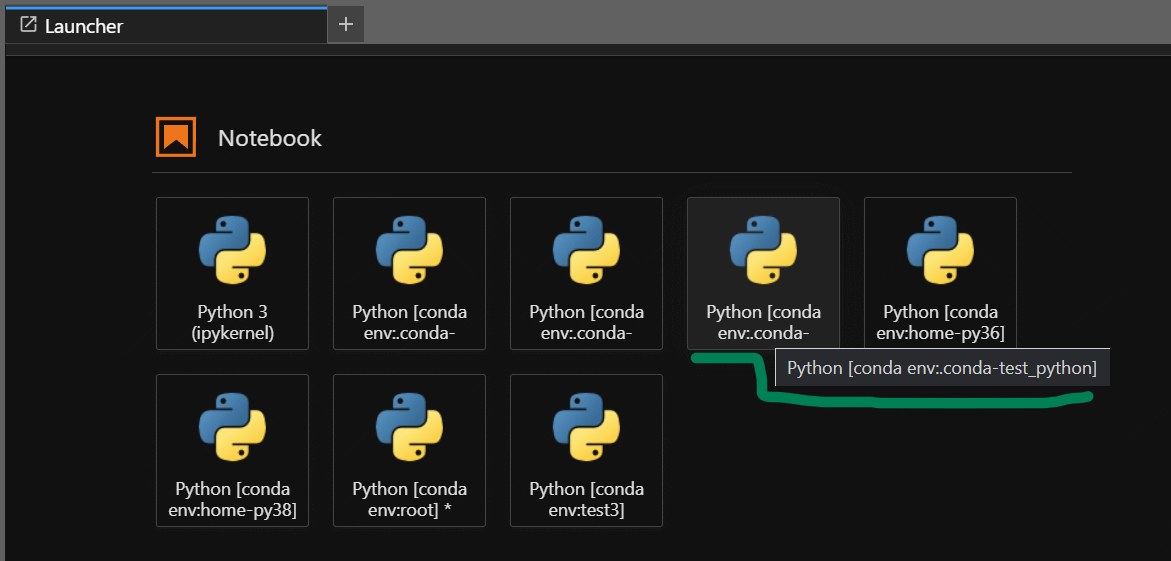
If you look at the above output, even though the Jupyter Lab has been launched from the base environment, you can still switch to other Python virtual environments which is displayed in the Launcher tab. You can also see
test_pythonenvironment and the reason why it showed up in the launcher is because of the presence of ipykernel package in thetest_pythonenvironment.
|
r-irkernel is the equivalent of ipykernel for R environments. |