Interactive RStudio
Opening RStudio Form
-
The first step is to select the
Interactive appsand then click theRStudioServer in the Open OnDemand dashboard. -
Then you will see a form which needs to be filled to launch the RStudio Server on the compute nodes.
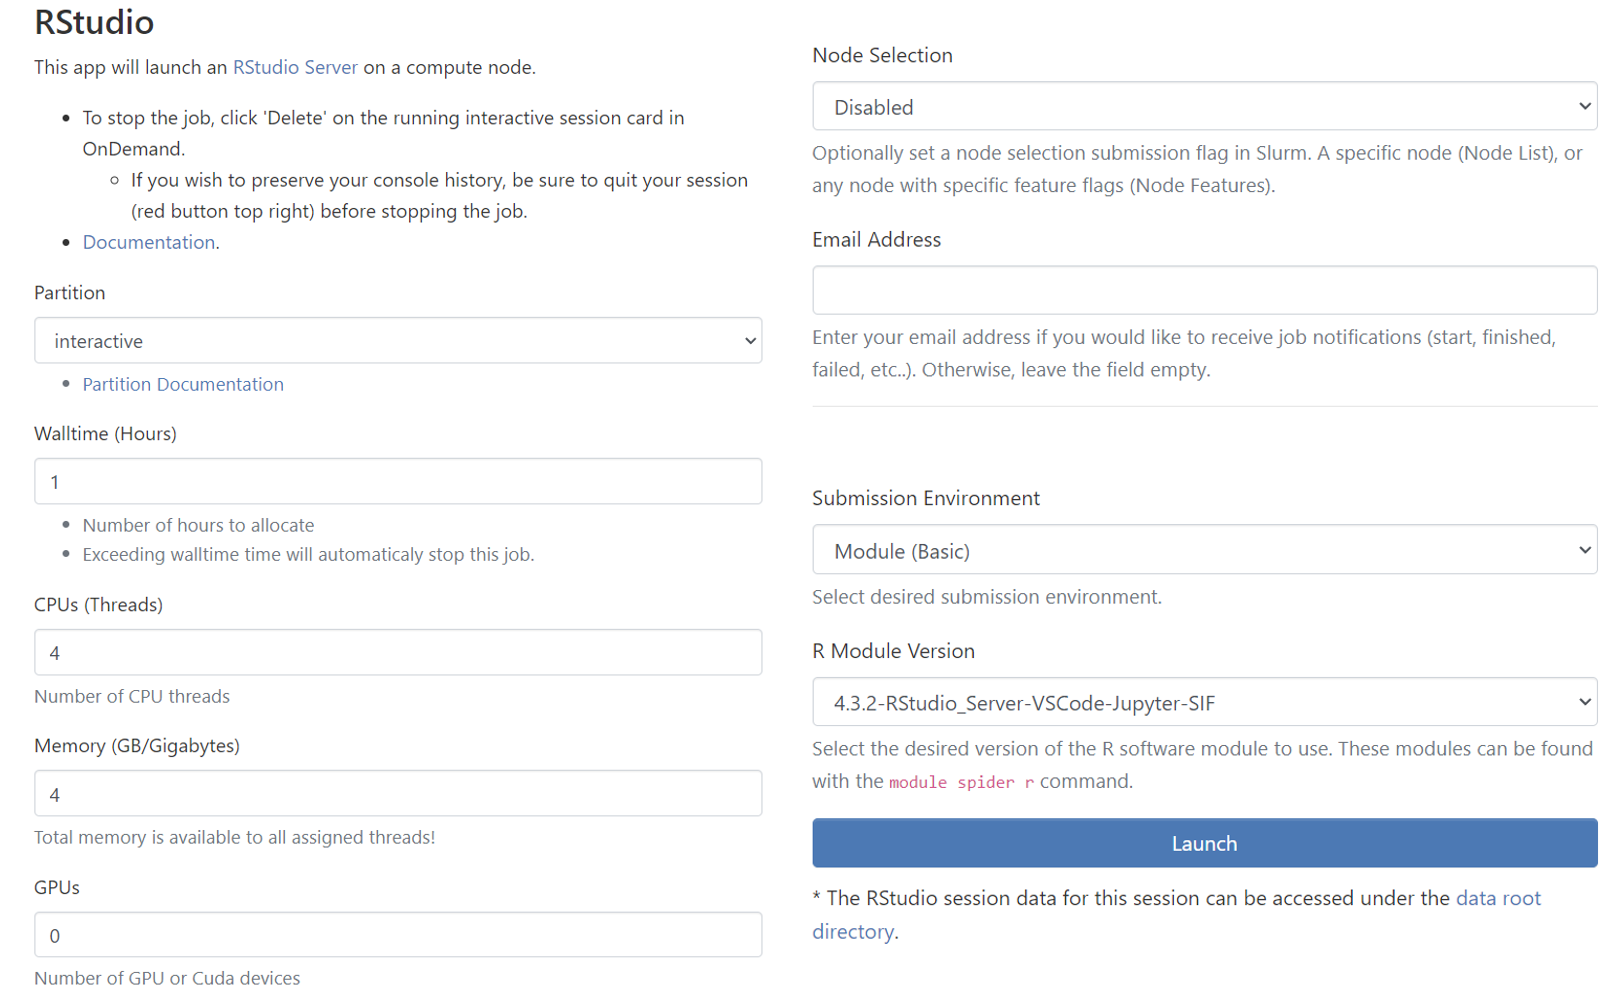
Partition
-
Partitions are work queues that has computational nodes in it to run the jobs. The partitions available in Discovery are
cblab,cfdlab,iiplab,interactive, andnormal. -
However, you will see only the list of authorized partitions available for your Discovery account and hence, you won’t see the partitions which you don’t have authorization in the select dropdown.
-
Select one of the partitions where you want to submit your job. Refer to the page → Partitions in Discovery to select the ideal partition for your job.
-
By Default, partition is set to
interactive. -
Backfill partition is also enabled to launch MATLAB GUI through the interactive session. However, jobs on Backfill are subject to being stopped and requeued. Hence, you need to fill the last form field with the MATLAB command if you want to launch MATLAB in Backfill.
|
For NMSU OnDemand interactive apps, Backfill partition is only available in MATLAB (Xfce). |
Walltime(Hours)
-
Sets the Walltime for your job. The job gets killed if the Walltime you set gets elapsed.
Partition Max Hours backfill
336
cblab
168
cfdlab
168
iiplab
168
interactive
24
normal
168
CPUs(Threads)
-
Sets the Number of CPUs(Threads) for the job. The below table shows the maximum limit for CPU threads for each partition. The default and minimum value is 1 CPU thread.
Partition Max Limit backfill
60
cblab
60
cfdlab
52
iiplab
52
interactive
16
normal
124
Memory (GB/Gigabytes)
-
Sets the memory for the job in terms of GB. The memory you select is available to all assigned threads for the job. The below table shows the maximum memory limit for each partition which can be requested for the job. The default and minimum value is 1 GB.
| Partition | Max Memory Limit(GB) |
|---|---|
backfill |
490 |
cblab |
364 |
cfdlab |
175 |
iiplab |
175 |
interactive |
64 |
normal |
3000 |
GPUs
-
To enable the GPU selection, you need to choose one of the following partitions:
cfdlab,iiplab,interactive,normal. Only these partitions have GPUs and if you select any of the partitions, you can see theGPUsdropdown enabled.Parameter #GPU Min Limit
0
Max Limit
2
Node Selection
This is an optional node selection feature for submissions to Slurm. It allows users to specify a particular node or any node with specific feature flags.
Selection Options
There are four available options for node selection:
-
Disabled: This is the default setting. When "Disabled" is selected, the application will not send any specific node preferences to Slurm during job submission.
-
Node List: With this option, users can specify a particular node (one single node) where the job should run.
-
Node Features (--constraint): Users can select this option if they want to run their job on any node that meets a specific feature.
-
Node Features (--prefer): This option is similar to the "--constraint" option, but it only indicates a preference. If it’s not available, it might be scheduled elsewhere.
Email Address
-
If you want to get notified via email when the job starts/fails/ends, enter the email address associated with the Discovery account.
-
You can leave the text field
blankif you don’t want job notifications.
Submission Environment
You can select your desired submission environment from the drop down list.
-
RStudio uses Apptainer/Singularity Container to launch the RStudio Server on the compute node.
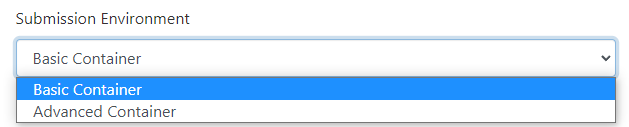
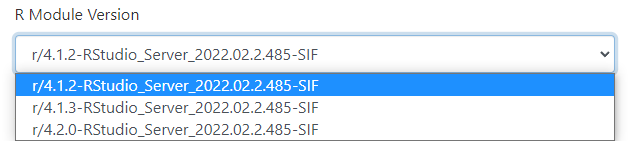
This option allows you to launch the interactive application with the default containers. These modules can be found with "$ module spider r" command.
This option allows you to select any container. Please select the appropriate SIF image.
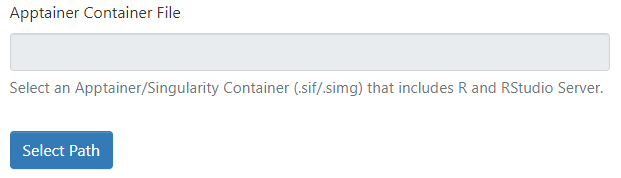
|
The Apptainer Container File selection allows for files with the |
Launching the Interactive Session
-
Once all the form fields are set, you can click the
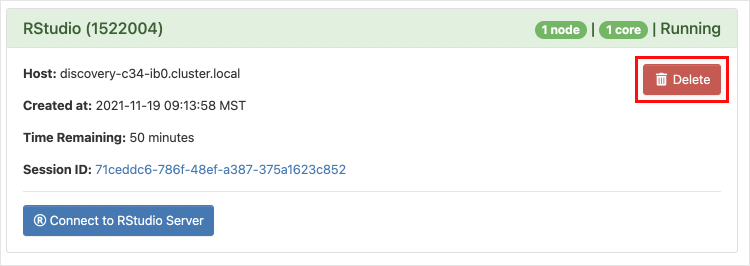
Launchbutton. The interactive session will be launched and you will see the below output.
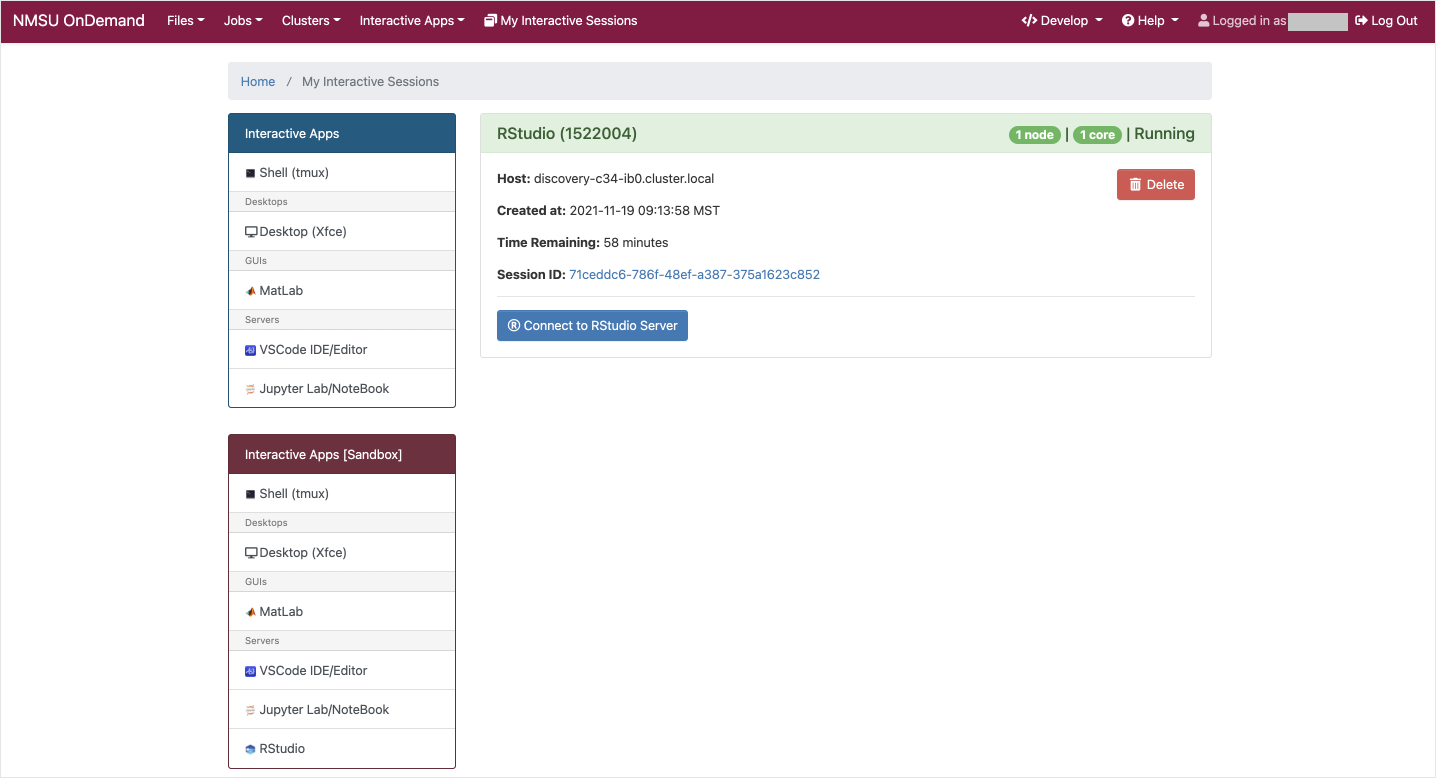
-
The above output shows that the interactive RStudio session has been launched successfully. You will see the Connect to RStudio Server button only if the resources you have requested becomes available. Else, you might need to wait for some more minutes for the resources allocation and then the Connect to RStudio Server button appears.
-
After it appears, click it.
|
The interactive session won’t be launched if you try to submit your job to the partition that you don’t have access to. You will get the following error message → Batch job submission failed: User’s group not permitted to use this partition. Also, the page gets reloaded and you need to select the value for the form fields again since the form gets reset. |
Opening RStudio Server
-
The RStudio Server opens up in a new tab.
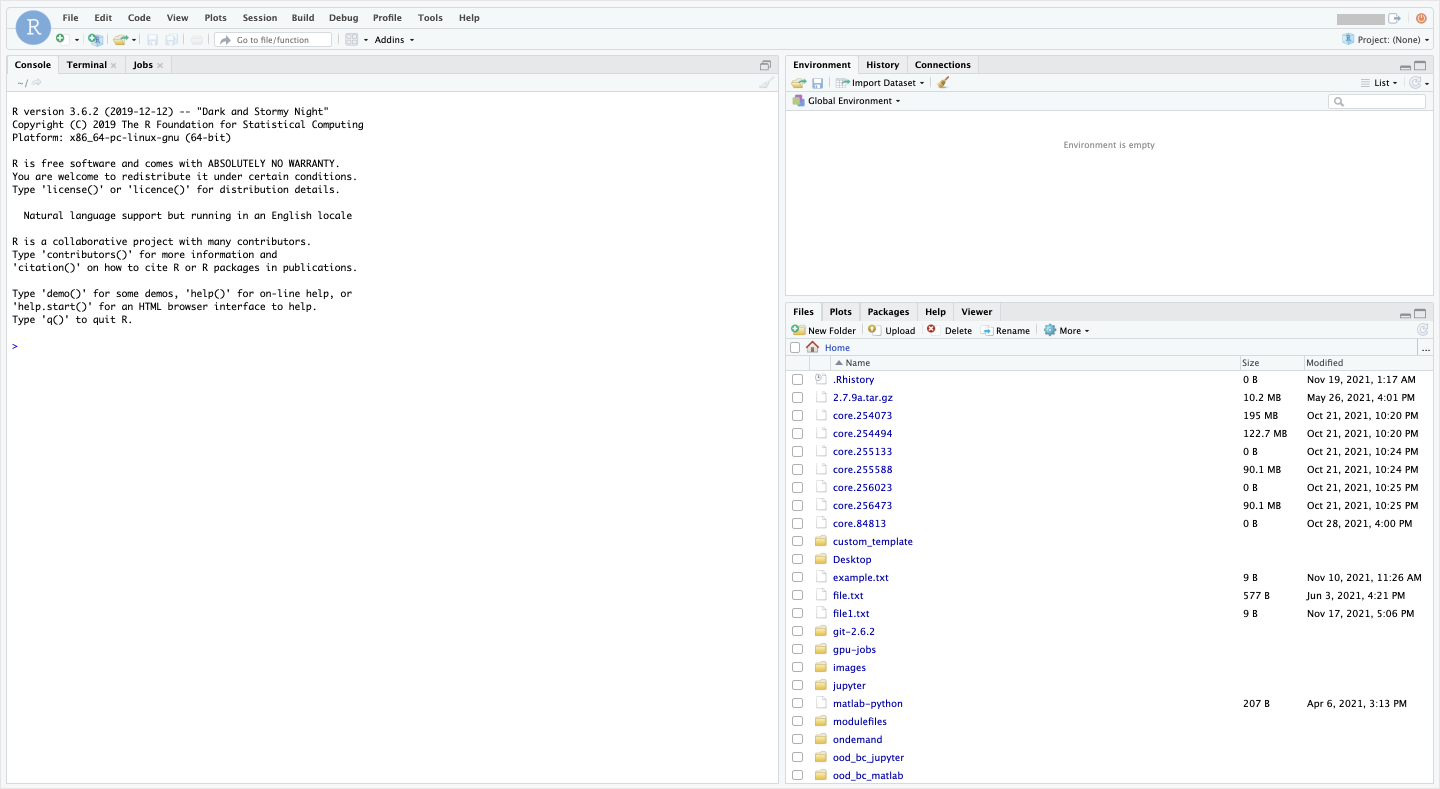
-
You can now run your R scripts, install packages, restart session, so on.
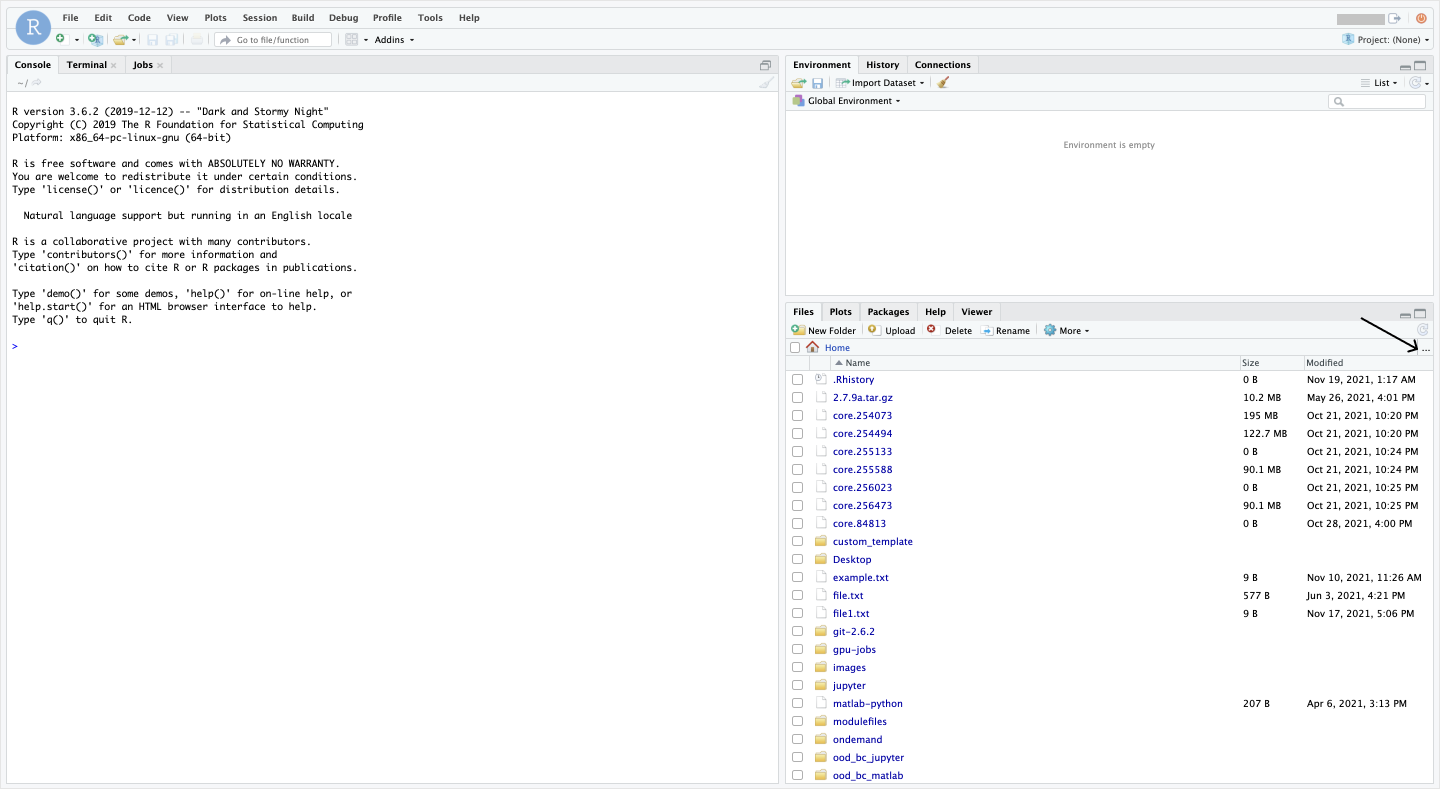
Change Working Directory
-
To change your working directory to other directories like
/scratchor/project, click the Go to Directory button(pointed by the arrow symbol) like below.
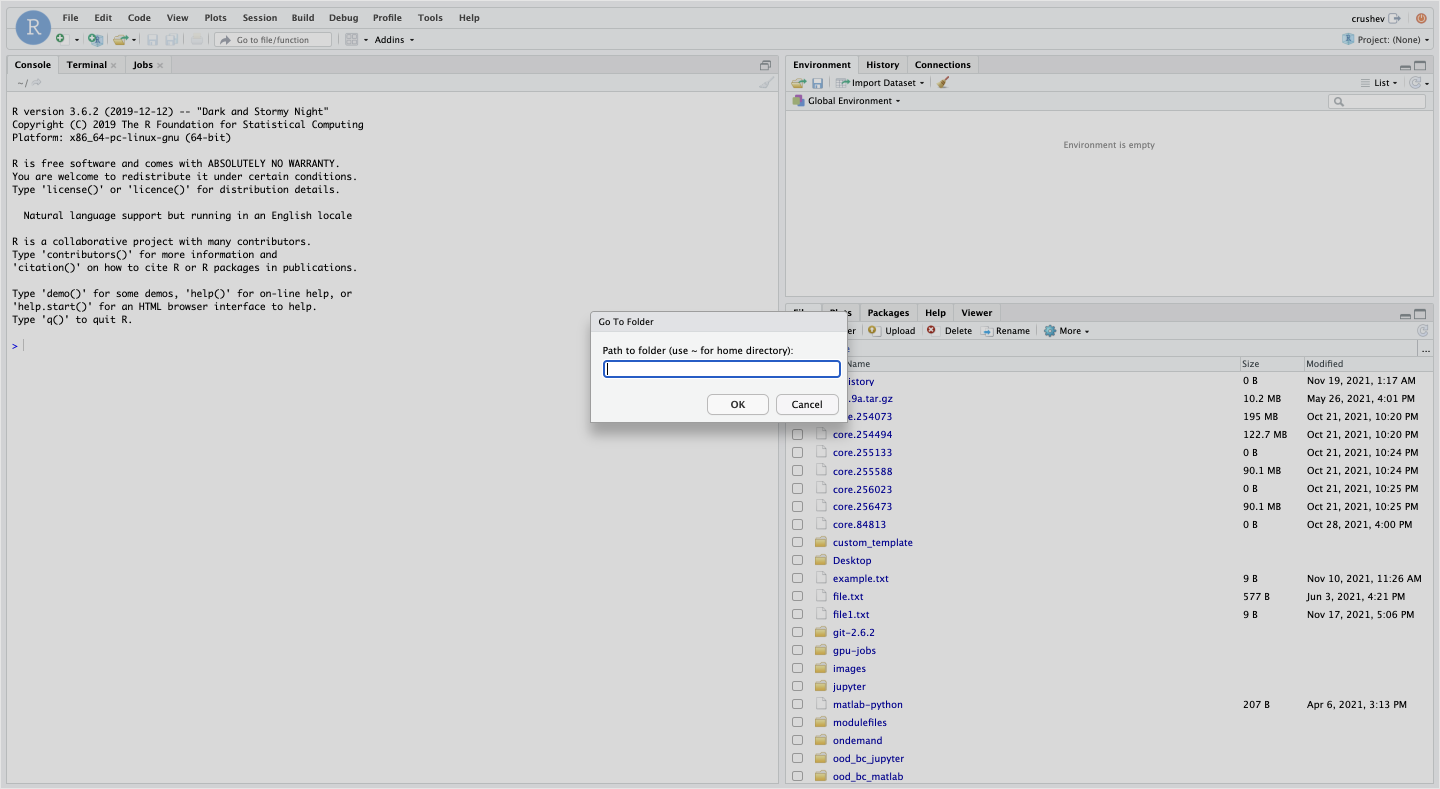
-
It opens a popup to enter the path of the destination folder.
-
For example, to switch to your
/scratchaccount, enter the following path in the popup:
/scratch/<username>-
On Clicking OK, your working directory will be changed.
Killing the Interactive Session
After the work is done, it’s important to kill the session. Go to My Interactive sessions tab and select the Delete button of the current interactive session.
A confirmation pop-up will appear and press Confirm to delete the session.
|
Whenever you are done with the work, it’s always recommended to kill/delete the interactive session running on the compute nodes and free the resources. |